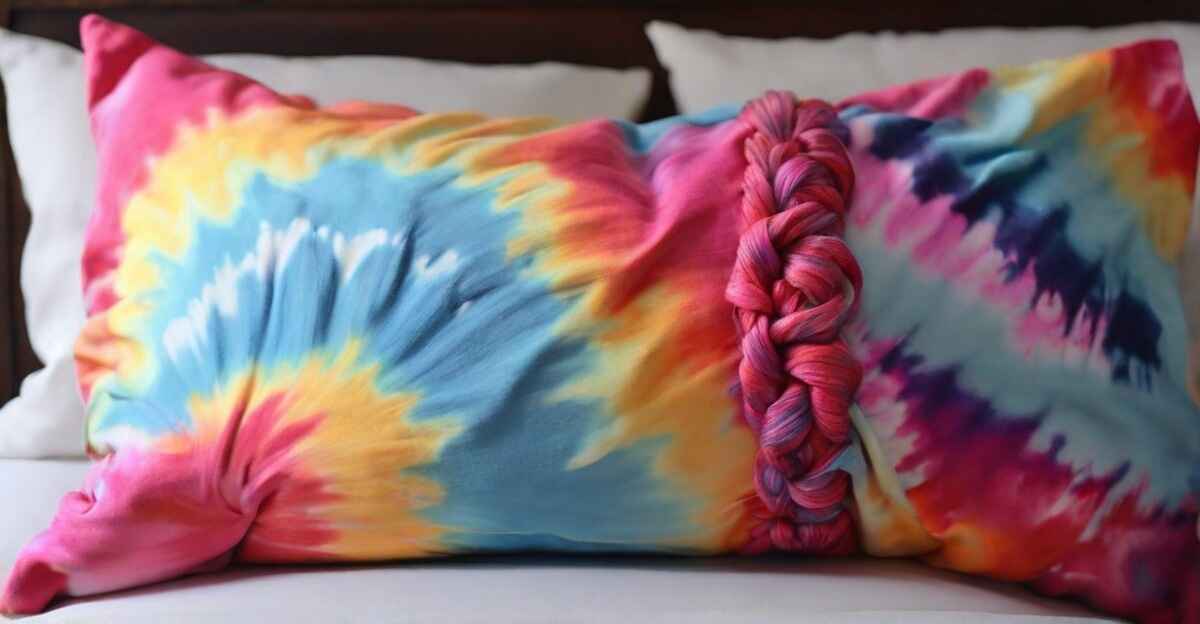
Tie dyeing has been a popular and creative craft for decades, offering a unique way to add a burst of color to various fabric items. If you’ve ever wondered how to tie dye pillow cases, you’re in for a treat! In this comprehensive guide, we’ll walk you through the steps of tie dyeing pillowcases, providing you with the knowledge and inspiration to create eye-catching and custom designs.
Materials Needed:
Before diving into the tie dyeing process, gather the following materials:
- Plain Pillowcases: Choose pillowcases made of natural fibers like cotton for optimal dye absorption.
- Tie Dye Kit or Fabric Dyes: Purchase a tie dye kit or individual fabric dyes in your preferred colors. Kits often include bottles, gloves, and rubber bands.
- Rubber Bands: Essential for creating patterns and securing the fabric during the dyeing process.
- Plastic Squeeze Bottles: If not included in the tie dye kit, use plastic squeeze bottles for precise application of dye.
- Plastic Table Cover or Garbage Bags: Protect your workspace from dye splatters.
- Plastic Gloves: Keep your hands clean and protected while working with dyes.
- Plastic Bags or Plastic Wrap: Use to wrap the dyed pillowcases and allow the colors to set.
Steps to Tie Dye Pillowcases:
Step: 1. Pre-wash the Pillowcases:
Before starting the tie dye process, pre-wash the pillowcases to remove any sizing or finishes that might hinder dye absorption.
Step: 2. Prepare the Dye:
Follow the instructions on the tie dye kit or fabric dye packaging to prepare the dyes. Mix the colors in separate containers if using individual dyes.
Step: 3. Fold and Bind:
Lay the pillowcase flat and decide on the desired tie dye pattern. Common techniques include the spiral, accordion fold, or random scrunching. Secure sections with rubber bands to create distinct patterns.
Step: 4. Apply the Dye:
Use the plastic squeeze bottles to apply the dye to the sections created by the rubber bands. Experiment with different color combinations and saturations for a dynamic effect.
Step: 5. Flip and Repeat:
Once one side is dyed, carefully flip the pillowcase and repeat the process on the other side. Ensure both sides receive an even distribution of color.
Step: 6. Wrap and Let Set:
Place the dyed pillowcase in a plastic bag or wrap it in plastic wrap. Let it sit for the recommended time specified in the dye instructions to allow the colors to set.
Step: 7. Rinse and Wash:
After the setting time, rinse the pillowcase under cold water until the excess dye is removed. Wash the pillowcase separately in cold water and mild detergent. Dry it according to fabric care instructions.
Additional Tips:
Experiment with Patterns:
Don’t be afraid to get creative with your tie dye patterns. Try different folding and binding techniques to achieve unique designs.
Color Combinations:
Consider the color wheel when choosing your dye colors. Experimenting with complementary or analogous color schemes can yield stunning results.
Mixing Dye:
If you want more color variations, try mixing different dye colors to create a custom palette for your pillowcases.
Frequently Asked Questions (FAQs):
Can I tie dye pillowcases made of synthetic fabrics?
It’s recommended to use natural fiber pillowcases like cotton for tie dyeing, as they absorb the dye more effectively. Synthetic fabrics may not hold the color as well.
How do I prevent colors from bleeding?
Rinse your tie-dyed pillowcases thoroughly under cold water until the excess dye is removed. Additionally, washing them separately in cold water for the first few washes can help prevent bleeding.
Can I use regular food coloring for tie dyeing?
While food coloring can be used for tie dyeing, it may not produce as vibrant and lasting results as fabric dyes. Consider using dyes specifically designed for fabric for better color retention.
Can I machine wash and dry tie-dyed pillowcases?
Yes, but it’s advisable to follow the care instructions on the dye packaging. Washing them separately in cold water and using a mild detergent can help preserve the colors. Avoid using bleach.
How can I fix a mistake in my tie dye design?
If you make a mistake, try not to panic. Depending on the severity, you can either embrace the uniqueness or attempt to re-dye the specific section using a complementary color to create a new pattern.
Conclusion:
Now that you know how to tie dye pillow cases, let your creativity flow! This fun and rewarding DIY project allows you to infuse your living space with a burst of color and creativity. With a few simple materials and a bit of imagination, you can transform plain pillowcases into eye-catching works of art. Experiment with different tie dye techniques, color combinations, and patterns to create unique and personalized pieces that reflect your style. Get ready to enjoy the vibrant and dynamic energy these tie dye pillowcases will bring to your home.


